Incessant chatter with insufficient knowledge on quilting, knitting, sewing, cooking and the like.
Sunday, September 29, 2013
The Wedding Dress -- It's a Dress Rehearsal, Not Just Practice
This weekend was productive and unproductive -- all at the same time. I got the entire bodice put together and then took the whole thing apart again. There were two problems. First, the bodice did not fit Monica and since Monica is set to the approximate size of DD, the bodice would not fit DD. The bodice was approximately 1 to 2 inches too big all the way around at every measurement. I can only guess that since the bodice is cut on the bias and I washed the fabric first; that as I handled it, the muslin stretched back out a little. It is cotton and cotton will stretch a little -- kind of like how blue jeans always fit looser a couple of hours after you put them on. Secondly, I disliked how the gathers at the sides looked -- uneven and sloppy. So that meant that I had to adjust all of the pattern pieces for size and re-do the gathering.
I took most of the pieces apart, removed all of the old gathering stitches from the front and back drape pieces, and ironed everything carefully. Then using the marks that I made while Monica was wearing the bodice, I redrew some of the seam lines on both the base and the drape pieces using my new fashion ruler.
After redrawing the seam lines, I restitched all of the gathering lines in triplicate. (Note the stitching line on the left is the seam line.) This time, I used a method that I found on Sew Much Good. This method does not lengthen the stitch at all, but loosens the upper tension allowing the bottom thread to be pulled -- gathering the fabric. This method seemed to work much better for me. I got a much more even gather than I did before.
I then hand basted the gathered drape onto the base fabric following the sewn seam line. I like the result of this much better (see picture at the top of the page). I keep forgetting that the muslin is not just a practice dress, but a dress rehearsal dress. Ask anyone who has performed -- there is a difference. Therefore, I need to be as meticulous with this one as I will be with the real one.
For now, I have a lot of basting left to do. As soon as I have pictures of a completed bodice, you'll be the first to see!
Happy Basting!
Thursday, September 19, 2013
The Wedding Dress -- Bodice Front
This is version #3. I know it probably does not look very different from the pictures of version #1 at first glance, but I think that the ruching looks much more even across the bust. I cannot show you version 2 as I only got one panel on and realized that it needed further adjustments, took the gathering out of one side, adjusted the seam line and put in new gathers in both panels.
Now, I will sew the ruched panels to the underlayment and see how it looks. I want to get the bodice front a little bit tighter, but that is hard to do with out having a back attached. I will try the two back panels next week. I am out of town this weekend and won't get to work on the dress at all. But I am happy with the progress thus far. The bodice is the part that scares me the most. I still have 9 weeks until the DD is home to try on the muslin.
Happy Sewing!
Now, I will sew the ruched panels to the underlayment and see how it looks. I want to get the bodice front a little bit tighter, but that is hard to do with out having a back attached. I will try the two back panels next week. I am out of town this weekend and won't get to work on the dress at all. But I am happy with the progress thus far. The bodice is the part that scares me the most. I still have 9 weeks until the DD is home to try on the muslin.
Happy Sewing!
Monday, September 16, 2013
Correction (I'm Sari, I Made A Mistake)
After my last post, a friend of mine commented to me on facebook: "There is a difference between gathering and draping." Um, yeah, okay, but you see/hear the term used inappropriately in fashion all the time! But, that does not mean I have to follow the crowd.
Draping is creating a dress or garment simply by arranging fabric around a body using the natural fall of the fabric. The most famous drape would be the sari." And that of course is nothing like what I was doing with the wedding dress (even if the pattern pieces are named "front drape" and "back drape").
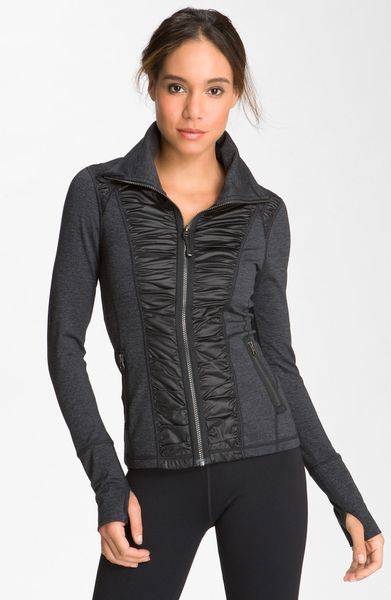
What I am actually doing on DD's wedding dress is "ruching." Ruching
is a gathered overlay. Parallel sides of the fabric are gathered and stitched to an underlayment. Often the ruching is done with a sheer such as chiffon or organza. Now that sounds like what I am doing! Ruching is commonly seen in evening wear and bathing suits. But in my research I also found examples of ruched jacket, gloves, leggings, shoes, and t-shirts.So, now that I finally know what I am doing. I can speak with authority -- even if I haven't figured out what I am doing!
Happy Ruching!
Sunday, September 15, 2013
The Wedding Dress -- We Are Gathering Here, Today

The muslin progresses. I took the pattern pieces for the drape out of Vogue 8150 and prepared the muslin pieces in the same manner as I described here. I also made another set of bodice muslin pieces of Butterick 5419 to act as the underlayment (if I may use a construction term) for the draping. I gathered the edges of the pattern per the directions and did my best to apply them to the bodice. Above you will see the results of the "marrying" of the two patterns. (Pun intended)!I have to make some adjustments to the draping as the sweetheart neckline of the Vogue is a somewhat different shape than the Butterick 5419. Later in the week, I will take the draping down and make some adjustments to the pieces and use them like pattern pieces to make new draping pieces. The I can re-gather the fabric to see if I can get it to match up better with the bodice.
Happy gathering!
Monday, September 9, 2013
The Wedding Dress - Progress on Muslin
Over the last couple of days, there has been some progress on the wedding dress. I spent some time cutting apart the necessary pattern pieces for the draping (Vogue 8150) and the skirt (McCall 6701). I then ironed each piece with a cool iron, marked the stitching line and lengthened the grain line. The tough part is trying to figure out where to finish the top of the skirt since the dress is made with full length panels from bust to floor (see photo above). Considering that I am taking parts of this dress from Butterick, McCall and Vogue, I should be calling this the Wedding Dress of Frankenstein.
I have been keeping track of the number of yards of muslin that I have used. This will give me a good idea of how many yards of fashion fabric that I will need to buy. I cannot rely on the package estimates because I am only using parts of each pattern. There will be a lot of yards of fabric.
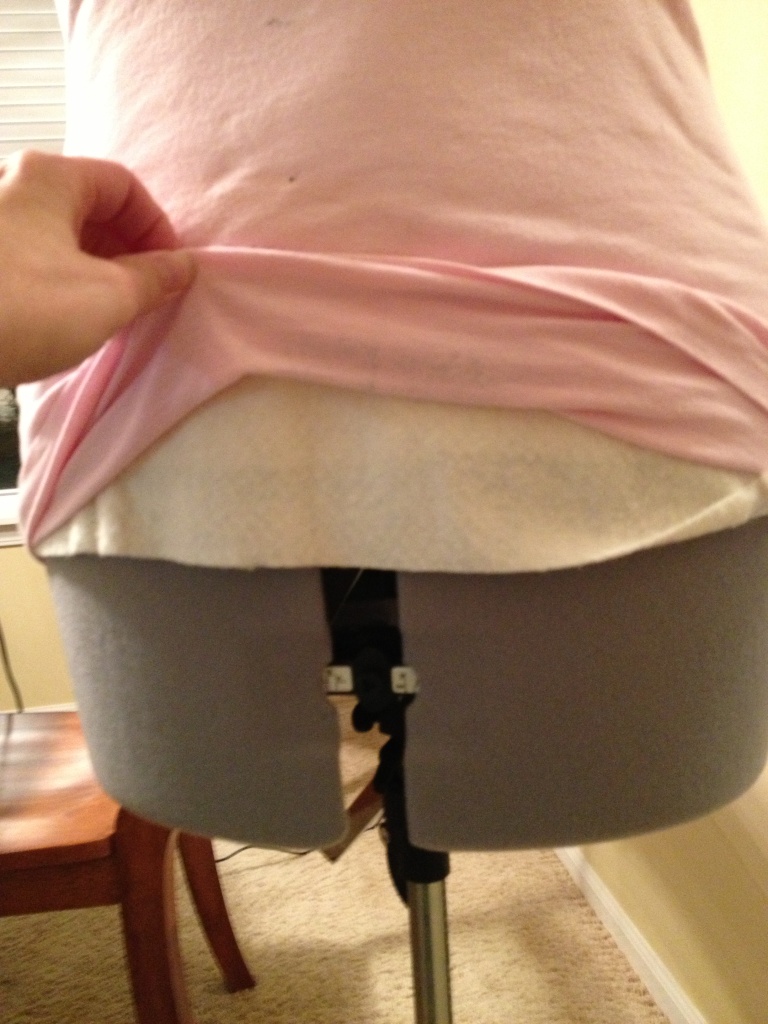
But she was quick to set up and not too hard to get into the correct measurements. However, every body is different and I had to pad out some areas to get them to the right shape, so I took some quilt batting and padded out Monica's figure to match DD's.
Happy sewing!
And THIS is the Reason I Make Baby Quilts!
"Mom! Look! It's so pink!"
And I am HAPPY!
Sunday, September 8, 2013
Baby Quilt Saga Continues
The inner border is a 2 X 2 block similar to what I did with the skull quilt and the outer border is a modified log cabin round. This border is nice because each side is the same length and width and you don't need corner blocks. The trick is to measure the length of the center quilt -- in this case 24 1/2 inches; adding the width of your planned strip -- for this quilt 7 inches; and less the two 1/4 inch seam widths. So the size of the strip was 31 inches X 7 inches.
The second trick to constructing the quilt is that the first side must be sewn part way in a method known as "partial seam construction." Kind of obvious, right? Since I am too busy to do a tutorial myself, I found one that I think is really well done on Fresh Lemons to share with you. She has done an excellent job of explaining the technique -- I think you will find it very easy to follow.
Next in line will be another girl quilt which is also using up blocks from the Thanksgiving quilt-a-thon.
Happy quilting!
Subscribe to:
Posts (Atom)