 One of my favorite quilting things is binding a quilt with a stripe, a check or a plaid on the bias. It gives a quilt a wonderful diagonal look to the edging and a sense of movement. But creating a bias binding has a few tricks to it, so I thought I would share how I make it, pictorially.
This a fun, wavy plaid in shades of blue that I am going to use on Flying in Formation.


 Fold the salvage up to meet the first cut you made. This will create a 45° angle in the fabric. At this point, ironing becomes very important! Iron the fabric using plenty of steam. Make sure you get a good crease.
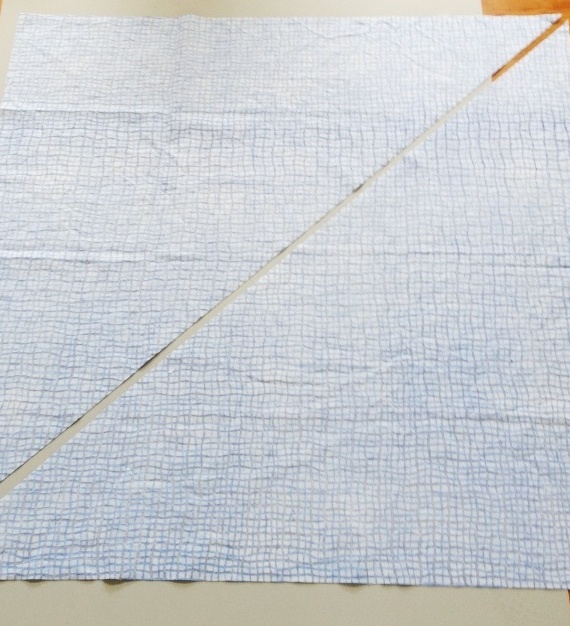 Spread out the fabric so that the diagonal cut in the center is side by side.


 Sew the line removing the pins as you go. Press the seam to one side. On the right side of the fabric, draw lines that are apart the width of the binding that you want. CAREFUL! Make sure that you draw the lines on the diagonal of the pattern -- diagonally to the seam you just made. If you draw the lines perpendicular with the seam then you will end up with regular binding, but went the long way around to get there!

and on the other end of the lines, write the numbers beginning with "2".
Then join the two sides to form a tube matching up the numbers.


Don't know how to attach it to a quilt? Stay tuned and Happy Binding!
No comments:
Post a Comment