I can't believe that it has been almost 3 months since I finished this quilt top. I last
posted about "Is There Enough Pink in This Quilt?" way back in May when I had finished putting it together. Since then, it was to the quilter and back and has been languishing on a living room chair since my DD and FSIL (that's future son-in-law to the abbreviation challenged, LOL) were here in July and I began researching and practicing for the
wedding dress. But since I am trying to clear my sewing schedule, I need to get these baby quilts done and out the door. So today, I am making more binding; but instead of
binding made on the bias that I posted a few days ago, this is easier binding to make on the cross grain.

I am making binding out of the same fabric that was used as backing for this quilt. I love the cool, bright, lime green back ground against the mostly hot pink and orange quilt top. But it does well since there is cool green and blue on the front and the green fabric features hot orange and pink hearts.
This binding is cut cross grain -- from salvage to salvage. Binding can be made in many different widths. However, I like mine to be about 3/8 of an inch wide on the quilt. You will have to decide how wide you like your binding and then practice to see how wide you need to cut your binding to get it just right. I always cut my strips 2 and 1/4 inch wide. The advantage to using the same width all the time is that you can use all of your left over binding to bind a really wild looking quilt!
Once the strips are cut, you can attach them to make one continuous binding. Lay the strips with right sides together at right angles to each other. I like to use the grid on my cutting board to line them up.

Then using a ruler and a pen or pencil, draw a straight line between the corners and pin the fabric with a couple of pins to keep the fabric from shifting. You can make the line going from top left corner to bottom right corner as I show at the right; or you can make it from the top right to the bottom left. I make the line this direction as I am right handed and I hold the ruler down with my left hand -- just be consistent so that all the angles go the same directions.
Sew along the line that you drew in the last step, removing the pins as you go. (Sometimes, I get lazy and don't pull out the pins as I am sewing, but then, sure enough, I break the needle on my machine. I just did this two days ago. Thankfully. I had plenty of spares!)
After sewing all of the strips together, don't ignore the next step: pressing the joins. As much as you may think that you can just open up the strip and fold it in half -- DON'T! Proper pressing is the key to getting nice sharp creases and binding that looks crisp -- not sloppy. And when I say "press" I don't mean "iron" -- there is a difference. In pressing the weight of the iron and the heat does all the work; ironing is when the iron is moved back and forth across the fabric -- here you want to press.

First press the sewing line to "set the seam" -- steam helps although some would say it is not necessary. Setting the seam gets rid of slight puckers and is the beginning to crisp looking seams. Then flip the fabric open and press both seams to one side. I have had some people tell me that they open the seam to make the binding flatter, but I think that it weakens the binding by putting stress on the thread. Again, press the seam open -- the cut is on the bias and may stretch if you iron.
Last but not least, fold the binding in half and press again down the length of the binding. The binding for this baby quilt is only about 5 strips of 44 inch fabric long and I had a little left over for my future wild and crazy quilt. Stay tuned for my next post and I will show you how to apply the binding that we just made.
Happy quilting!


 I am making binding out of the same fabric that was used as backing for this quilt. I love the cool, bright, lime green back ground against the mostly hot pink and orange quilt top. But it does well since there is cool green and blue on the front and the green fabric features hot orange and pink hearts.
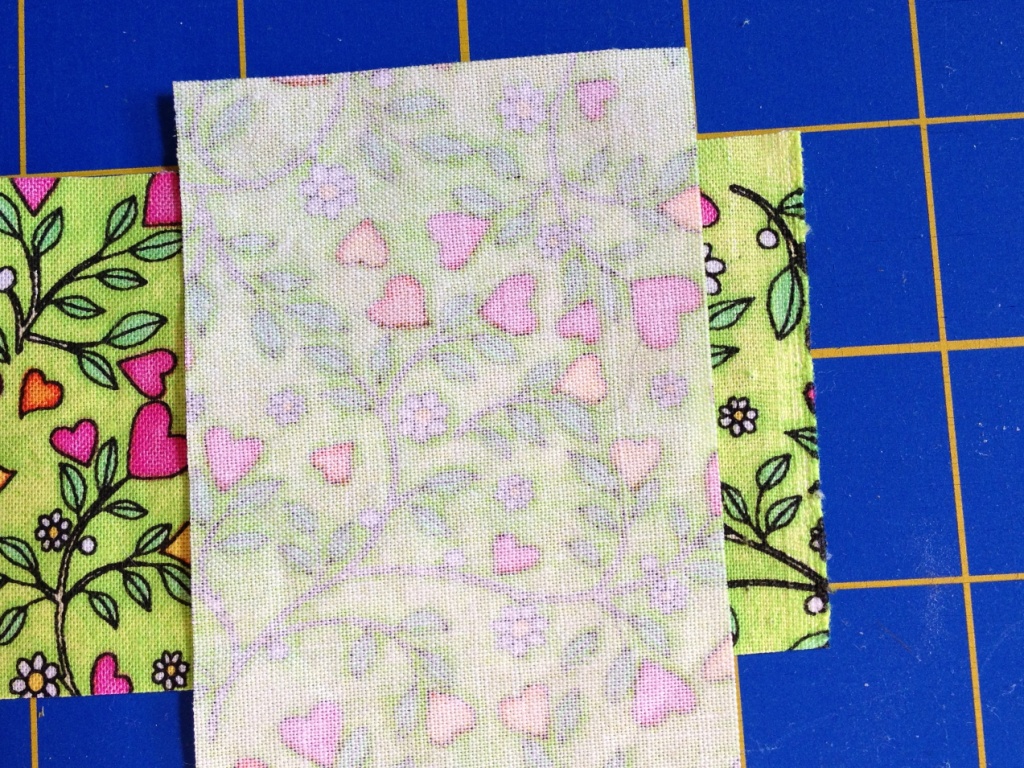
 Then using a ruler and a pen or pencil, draw a straight line between the corners and pin the fabric with a couple of pins to keep the fabric from shifting. You can make the line going from top left corner to bottom right corner as I show at the right; or you can make it from the top right to the bottom left. I make the line this direction as I am right handed and I hold the ruler down with my left hand -- just be consistent so that all the angles go the same directions.


No comments:
Post a Comment