In a couple of the last few blogs that I have done, I gave a how-to on making bias binding and cross grain binding. Regardless of which kind of binding you have made, you have to get it on the quilt.
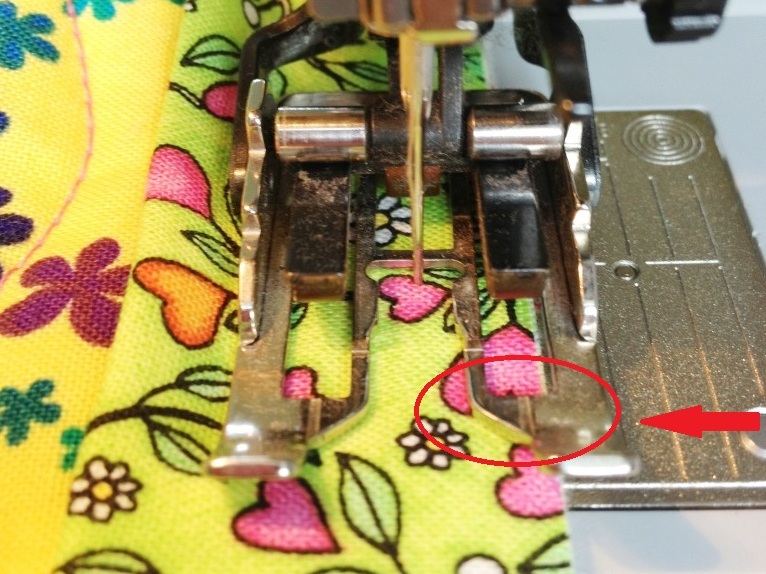
 Now, having done yards and yards of binding over the years with this machine, I know just where to sew to get the width that I always use. You may have to practice a bit to get it just right. The type of batting and "hand" the fabric has also affects where you sew the binding, too. I know the few times that I have used a different fabric or batting, I have had to adjust either the position of the needle or where the raw edges line up in my machine.
Applying the binding is easy on the straight of way. Begin in the center of one side of the quilt. All you do is keep the fabric straight and let the machine do the work. The hard part for me is sewing the corners. I place a pin 3/8 inches before the end of

You have to remove the quilt from the machine at this point -- each side of the quilt is sewn separately. And the sides start and end at the corner.
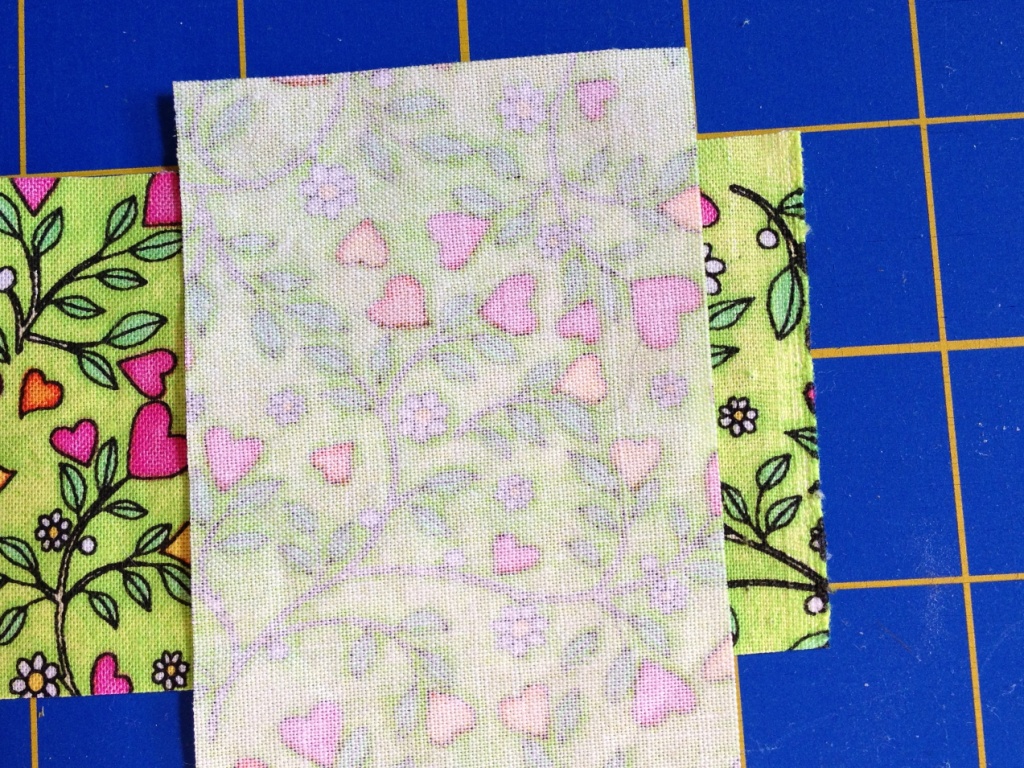
 To get a great sharp corner, don't rush through these steps. First fold the binding up creating a triangle and let the leading end of the binding flip back over the side you just completed.
Then fold the fabric back on itself.
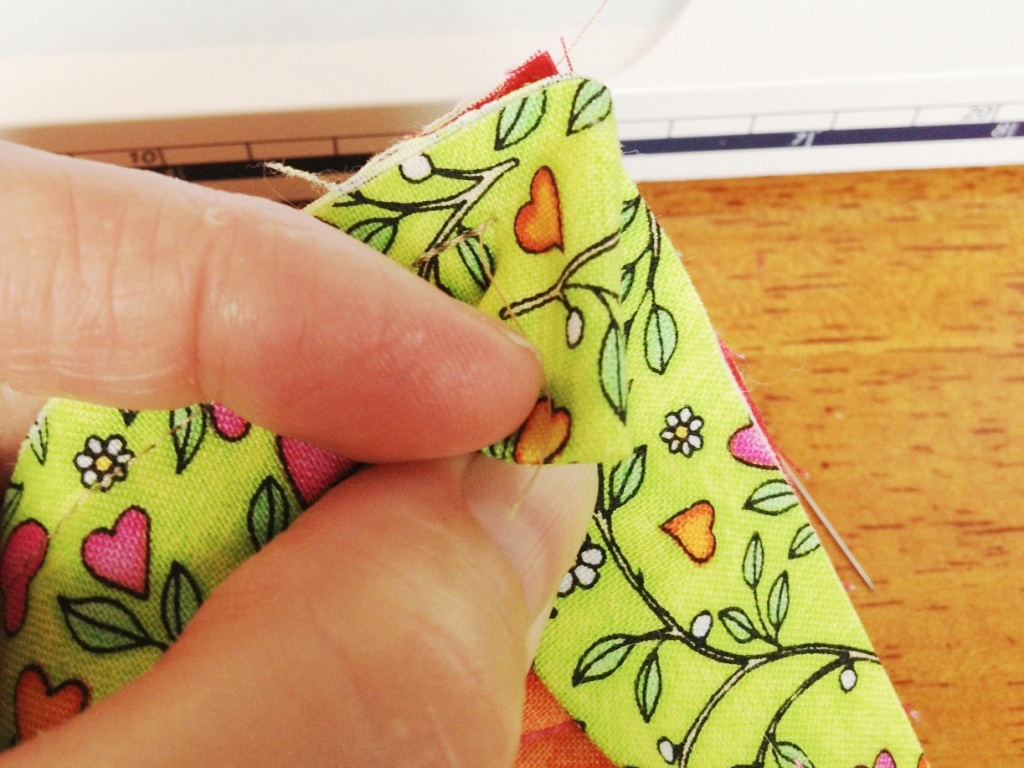 At this point there will be a small triangle of binding that will flip off the corner of the quilt.
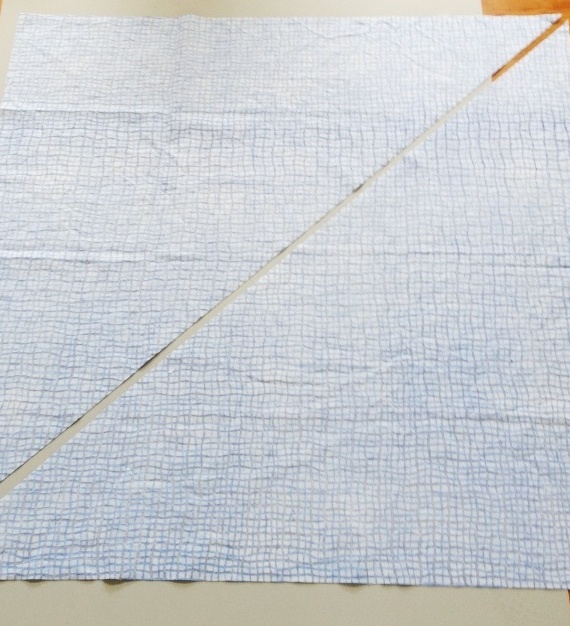
Continue to sew all of the remaining sides and corners until you get back to the side that you started the binding. You will want to stop sewing about 8 to 10 inches before your starting point. And trim the binding off at a 45 degree angle about half way between the start and finish of the sewing.

 Make sure that the line is at a 45° angle -- you can see that I have lined up the edge of the binding with the 45° angle on my ruler -- and draw the line even darker. and all the way across.


Then sew up that last little opening.
Next up hand finishing!
Happy binding!