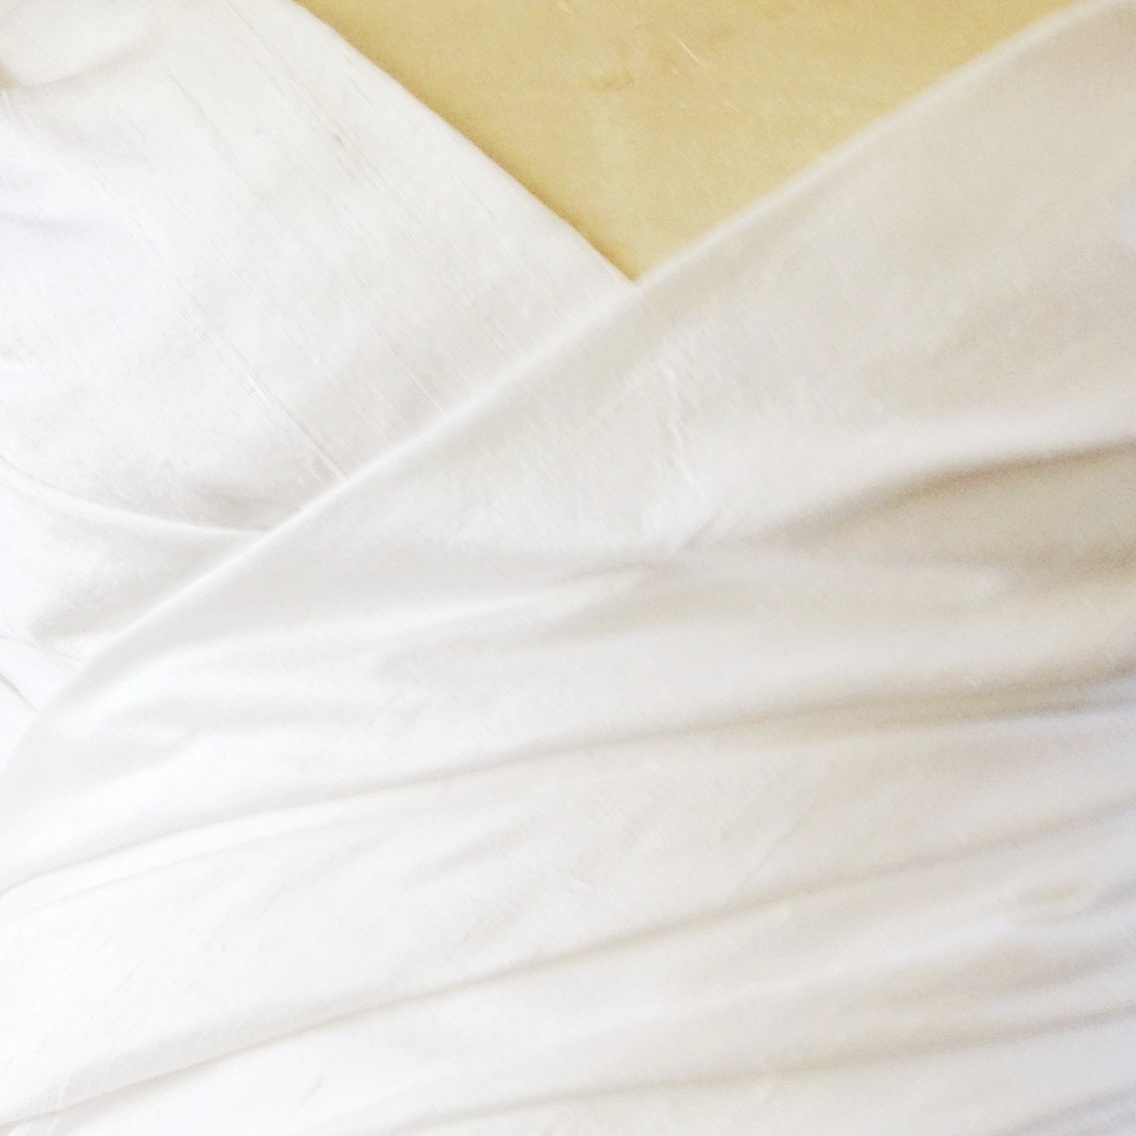
My DD arrived on Friday afternoon and kind of expected to see a semi-assembled wedding dress, however, time got away from me last week and I had not finished assembling the bodice to the point that she could try it on. One of the problems that I had to work through (and that slowed me down a bit) was the fact that I could not fold this fabric as evenly as the muslin. I tried for a couple of hours to get the fabric to fold with nice even folds as I did in the muslin a few weeks ago. I ended up going with a compromise between the gathering and the folds and folded the fabric more casually with uneven layered folds. My guess is that the wraps' underlining may have made it more difficult. DD did not have a problem with it and I think that it looks pretty good the way that it is.
I got to work and finished basting all of the pieces together and she was able to try it on the first time Saturday evening. I had to make some adjustments to the bodice in several areas. Some areas had to be let out and some areas had to be taken in a bit. Then, I used my sewing machine to sew up the three seams in the back of the bodice and the two seams in the front of the bodice. At least something was "done".
Next, I sewed up the top of each boning channel so that the boning had a stop at the top edge of the bodice. Then I slipped in a length of boning that extended out past the lower hem allowance. I could have trimmed it off at that point to the battom of the bodice, but I didn't. Why? Well, because I didn't know where we would end up making the bottom of the bodice yet!
 Next, I started cleaning up the seams of the bodice after sewing the panels with my machine. I trimmed the seam allowance to approximately an inch and ironed each seam, using a tailor's ham for the curved seams at the bust and waist. It was necessary to cut into the seam allowance to allow the seam to open or close with the curve.
Then using the catch stitch, I fastened each loose seam allowance to the interlining. This will create clean smooth seam lines where the allowance stays put and does not bunch up. It also covers the channels for the boning giving it an extra layer of cushion between the bone and DD's skin.
There is still a lot left to do. We've tried it on three times and made adjustments each time. As soon as I am done with all the catch stitching, we'll need one more fitting and then I can put in the zipper.
Here is just a peek! Sorry, I can't give you more, but Mom promised DD.
Happy Sewing.


No comments:
Post a Comment