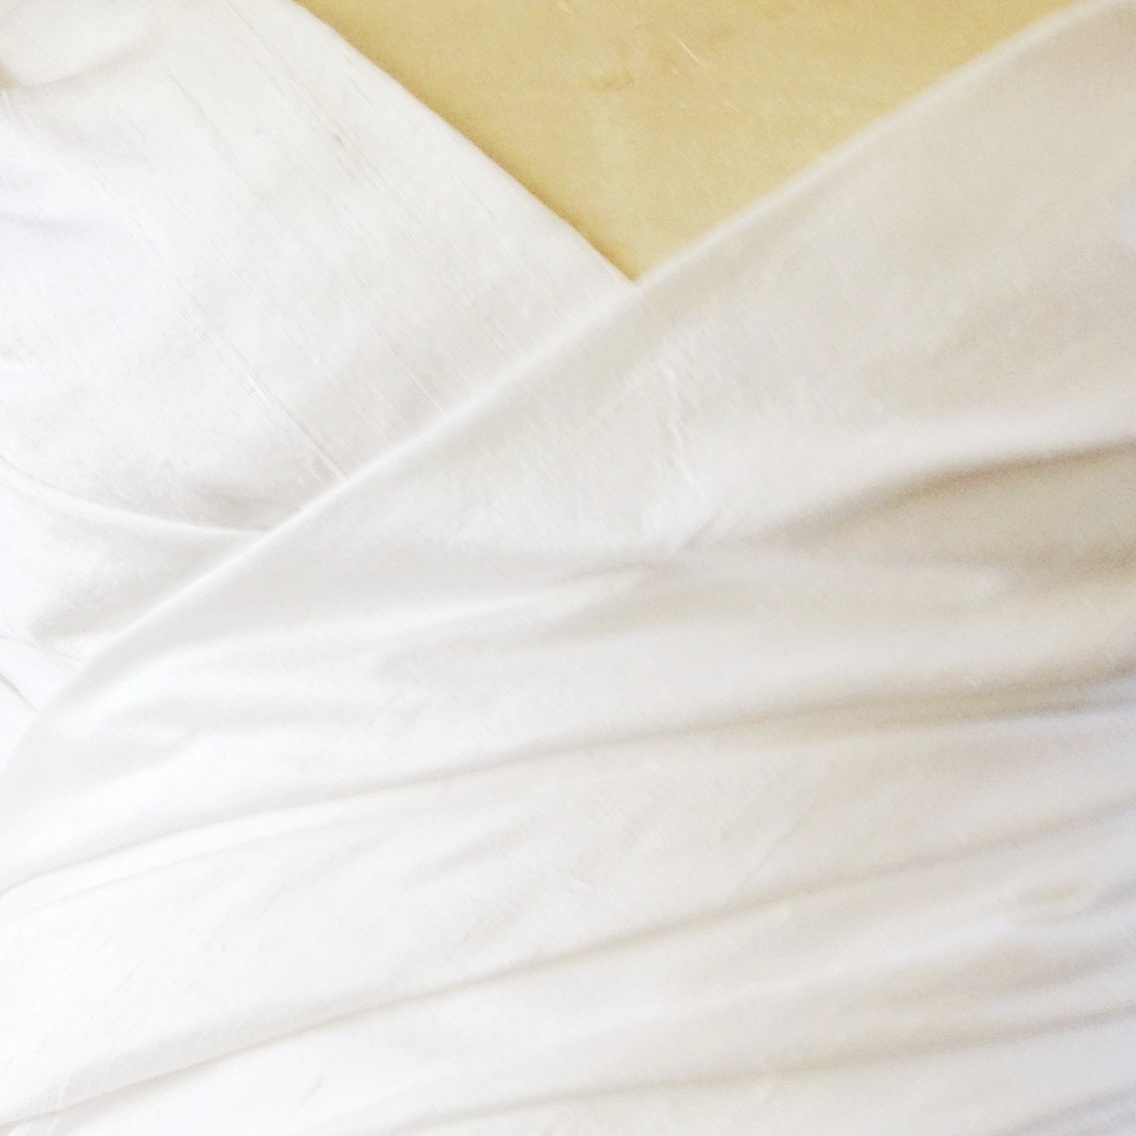
Wednesday, March 19, 2014

The Wedding Dress -- The Zipper Is Stronger Than I.

hand basted zipper

DD must have tried on the bodice a dozen times over the last couple of days. I kept adjusting the folds of the wraps and the fit of the base bodice. She wants the wraps to be fairly snug, but try as I might, I could not pull the zipper side together and get pins to stay. My fear was that I had not cut the bodice pieces correctly and it was not big enough (even though the muslin had fit like a glove). So, I decided that I would hand baste the zipper into the opening and see what happened.

zipper in wedding bodice
After reviewing the section on adding a zipper to a garment in the on-line couture class that I took last summer, I carefully pinned one side of the zipper to the bodice and hand basted from the top of the zipper to the bottom. Repeating on the other side from bottom to top, I finished the zipper. It was pretty hard going in a few places as there are several layers of fabric with the folding.

Then came another try with DD. After all of the tugging and pulling and worrying that it was too small; the bodice zipped up without a hitch!!! In fact, I will actually have to take in both the side seams and re-position the zipper because it isn't snug enough!

I followed Susan Khalji's advice in the video regarding not using an invisible zipper because they cannot take the stress that a regular zipper can take. DD certainly does not what a sudden popped zipper to ruin her wedding ceremony. I did not do a great job at getting the sides of the zipper to close completely over the zipper. But, since I have to take out the zipper and re-position it, I have another crack at getting both sides to meet. Then, I will handpick the zipper permanently in place. I am not worried about the zipper in the skirt as that does not require as much work and there will be less stress on that zipper.

I have added a couple of excellent links below on handpicking zippers. This couture step, when done correctly, is both beautiful and strong!

Sew Me Love
Threads Magazine Tutorial

Additional Note: By the way, I had read where silk shouldn't be pinned in the body of the dress as the pin marks could leave a permanent mark. I am thrilled to report that this dupioni is VERY resilient! I have even taken out seams sewn on my machine and no marks have been left. This fabric's biggest challenge is that it frays so easily. It does not take much at all to have several loose threads hanging. I think it could fray if you stare at it too hard!

Happy Sewing!!!!

Monday, March 17, 2014

The Wedding Dress -- The Week Long Fitting


My DD arrived on Friday afternoon and kind of expected to see a semi-assembled wedding dress, however, time got away from me last week and I had not finished assembling the bodice to the point that she could try it on. One of the problems that I had to work through (and that slowed me down a bit) was the fact that I could not fold this fabric as evenly as the muslin. I tried for a couple of hours to get the fabric to fold with nice even folds as I did in the muslin a few weeks ago. I ended up going with a compromise between the gathering and the folds and folded the fabric more casually with uneven layered folds. My guess is that the wraps' underlining may have made it more difficult. DD did not have a problem with it and I think that it looks pretty good the way that it is.


I got to work and finished basting all of the pieces together and she was able to try it on the first time Saturday evening. I had to make some adjustments to the bodice in several areas. Some areas had to be let out and some areas had to be taken in a bit. Then, I used my sewing machine to sew up the three seams in the back of the bodice and the two seams in the front of the bodice. At least something was "done".

Next, I sewed up the top of each boning channel so that the boning had a stop at the top edge of the bodice. Then I slipped in a length of boning that extended out past the lower hem allowance. I could have trimmed it off at that point to the battom of the bodice, but I didn't. Why? Well, because I didn't know where we would end up making the bottom of the bodice yet!


We are pretty close to the point where we will cut them off and bind up the bottom of the channel as well just above the hemline.


Next, I started cleaning up the seams of the bodice after sewing the panels with my machine. I trimmed the seam allowance to approximately an inch and ironed each seam, using a tailor's ham for the curved seams at the bust and waist. It was necessary to cut into the seam allowance to allow the seam to open or close with the curve.


Then using the catch stitch, I fastened each loose seam allowance to the interlining. This will create clean smooth seam lines where the allowance stays put and does not bunch up. It also covers the channels for the boning giving it an extra layer of cushion between the bone and DD's skin.


There is still a lot left to do. We've tried it on three times and made adjustments each time. As soon as I am done with all the catch stitching, we'll need one more fitting and then I can put in the zipper.

Here is just a peek! Sorry, I can't give you more, but Mom promised DD.

Happy Sewing.

Sunday, March 2, 2014

The Wedding Dress -- Lined With Gold


The cream colored dupioni for the bodice and skirt lining arrived last week and yesterday I got right to work on the dress. Last week, while I was waiting for the fabric to arrive, I had cut out the underlining for the bodice. When DD and I went to Vogue fabric when she was here in November, one of the things we bought was cotton crinoline to use as the interlining for the bodice. Back last fall when I practiced putting boning in a bodice, I used the casing that came with the plastic boning. But it really was very thick -- kind of like heavy muslin -- and I wanted something much smoother and less bulky.

Lucky for me I remembered a blog that I read at Gertie's Blog for Better Sewing on using the underlining fabric to create your own channels for the boning. What a great idea!

The first thing that I did was cut 1 1/4 inch pieces of the crinoline for each channel that I needed. I wanted a channel for each seam line. They were cut to the lengths that I needed for each seam. The ones in the front are shorter so that the boning stops at just below the bust. I then folded the crinoline in half lengthwise.


I then pinned the channel just inside the seam line. You cannot see the white on white marked seam line here, but trust me it's there! Then with my sewing machine, I sewed on each side of the channel, attaching it firmly to the interlining. Then, of course, just like all the other interlining pieces, used that as the pattern to cut out the dupioni.


I kept going and cut out all the pieces of the skirt again for the lining in the cream dupioni. (See the picture at the top of the blog.) My next steps are to: mark the cream dupioni with the seam lines so that I can baste the lining together and finish the skirt after DD tries it on; hand baste together the interlining and dupioni of the bodice; cut out the white dupioni for the bodice wraps; fold and baste the folds of the wraps down so that they are ready to attach to the bodice base; cut out the pieces of the lining for the bodice. Insert the bra and boning into the bodice. . . I can't even list everything here, but this is what must be done in order to be ready for DD's arrival in two weeks! OH MY, I HAVE SO MUCH TO DO!!!

Happy freaking out! (I mean Sewing!)

Saturday, February 22, 2014

The Wedding Dress -- Waistbands

So THIS blog is primarily for my DD -- but you can read it too. I spoke on the phone with DD yesterday afternoon and mentioned that we needed to decide on what kind of waistband we needed for the bridal skirt. DD commented that she didn't know what I meant. So, this blog will explain to her different types of non-elastic waistbands. Elastic waistbands are rarely used (if at all) in couture. They are more a staple in casual clothing and allow clothing to be pulled on without any fastenings. I am sure that there may be more types of waistbands than shown here, but these are the types that I am familiar with and that were available in my closet!

A common waistband is a fold over with a tab. Often used on suit pants and skirts, this waistband is strong and good looking. It is made by cutting a strip of fabric and folding it in half lengthwise. The front of the waistband is sewn to the skirt and the back is sewn to the lining of the skirt. This means that you don't have to hide any stitches in the seam allowance and there is less chance that a catch stitch will come through the fashion fabric. Sometimes this type of waistband has two buttons as shown, sometimes there is a hook and loop with a button. In the case of DD's wedding dress, a button closure would create more bulk than we would want to have. Snaps and hook and loops might work, but perhaps there are better options.

Another popular waistband is really band-less. This waistband is smooth and usually has a interface made of the fashion fabric so that you never see a change in color/fabric when worn with a tucked in blouse. Note that the interface is cut on the bias. It is also cut in two pieces -- one for the front of the skirt and one for the back of the skirt. This helps maintain the natural curve from the waist to the hip. This zip closure is on the side, if you had the closure in the back, you would want a 3 piece interface -- one piece in the front and two in the back. The zipper goes all the way to the top edge of the skirt, unlike the folded over waistband.

This third waistband has a sewn on folded over waistband as in the first option, but there is no tab and the zipper goes all the way to the top edge of the skirt. I see it as a combination of the two types above. The folded over waistband creates its own fashion fabric interface.


And, just as an aside, this is my favorite skirt. It was also the inspiration for the idea of DD's ruffled overskirt having a different fabric for the hem.

I'll let everyone know what waistband the DD picks for her dress and then, when the time comes to create it, maybe we can walk through it together.

Happy Sewing!


Friday, February 21, 2014

The Wedding Dress -- Field Trip to Vogue Fabrics


If you have never been to Vogue Fabrics in Evanston, Illinois, north of Chicago, it is hard to imagine a fabric store this big. The address is 718-732 Main Street and that alone should tell you it takes up an entire block. The photo above is of just one of several rooms. If I were not limited by the parking meter and lack of extra coins, I could spend an entire afternoon (and a large amount of money) in this place. As it was, I left with nothing. Yes, friends, I said "nothing". They were out of the cream dupioni that I need for DD's dress and they told me to order it on line and have it shipped to me. So that is just what I did. 

However, I still did a bit of poking around and found some really neat stuff, and took a few pictures of beaded trim that DD might like:


DD and I spoke briefly on the phone and she said that she would like a large beaded or sequined patch on the bottom of the bodice over the hip. But Vogue Fabrics didn't have anything there that I would work, so I suggested DD look on line and see if she could find something that she likes.

Happy Shopping! On line or otherwise. . .

Thursday, February 20, 2014

The Wedding Dress -- It's a Full Skirt!


I got the whole skirt together! Monica (the mannequin) is wearing the skirt since DD won't be here until March to try it on. I finally finished the bridal skirt around 4 PM today and sent pictures to DD. She is very happy! I wish that I could show you better pictures, but DD made me promise that I would never show pictures of the whole dress. Showing you too much of the skirt would make me guilty. (Sorry!)

So, tomorrow, I plan to make a field trip to Vogue Fabric in Evanston to get the cream colored dupioni. It will be a hardship, but I will try to enjoy it. If I get home early enough, I will begin cutting out the base of the bodice and working on the boning.

Yes, I know! There is still so much work to do and I am already celebrating finishing just the exterior of the skirt. Why? Because I need small victories!

Happy sewing!

Wednesday, February 19, 2014

The Wedding Dress -- Connecting the Skirt Panels


I started hand sewing the skirt panels today. Here are pictures of the four front panels attached. Since the dress is shorter in the front than the back, these are the three shortest seams. It took me about two hours to put these three panels together. Yes, that is a long time. Yes, I could have done it faster. No, it would not have come out as nice.

I think that it looks pretty good right now. If I am not careful, my seams may get out of alignment. That would leave pin holes where I don't want them to be. I also cannot press the fabric until DD tries it on and I have machine sewn the final seam. I don't want to creases in the fabric in case I need to let out a seam a little. You can see the the inside of the skirt in the picture on the right. In couture, you leave plenty of extra fabric until the dress' final fitting. Before completing the process, these seams will be trimmed, tacked down and hidden behind the lining.

I also got the wraps on the bodice cut out in the interfacing this morning. Tomorrow's goal is to cut out the wraps in the fashion fabric and get as much done on the skirt as possible. Could I actually get it done?

Happy Sewing!